Aluminum Facade Repair for Solid Cladding Panels A Cost and Inspection Guide
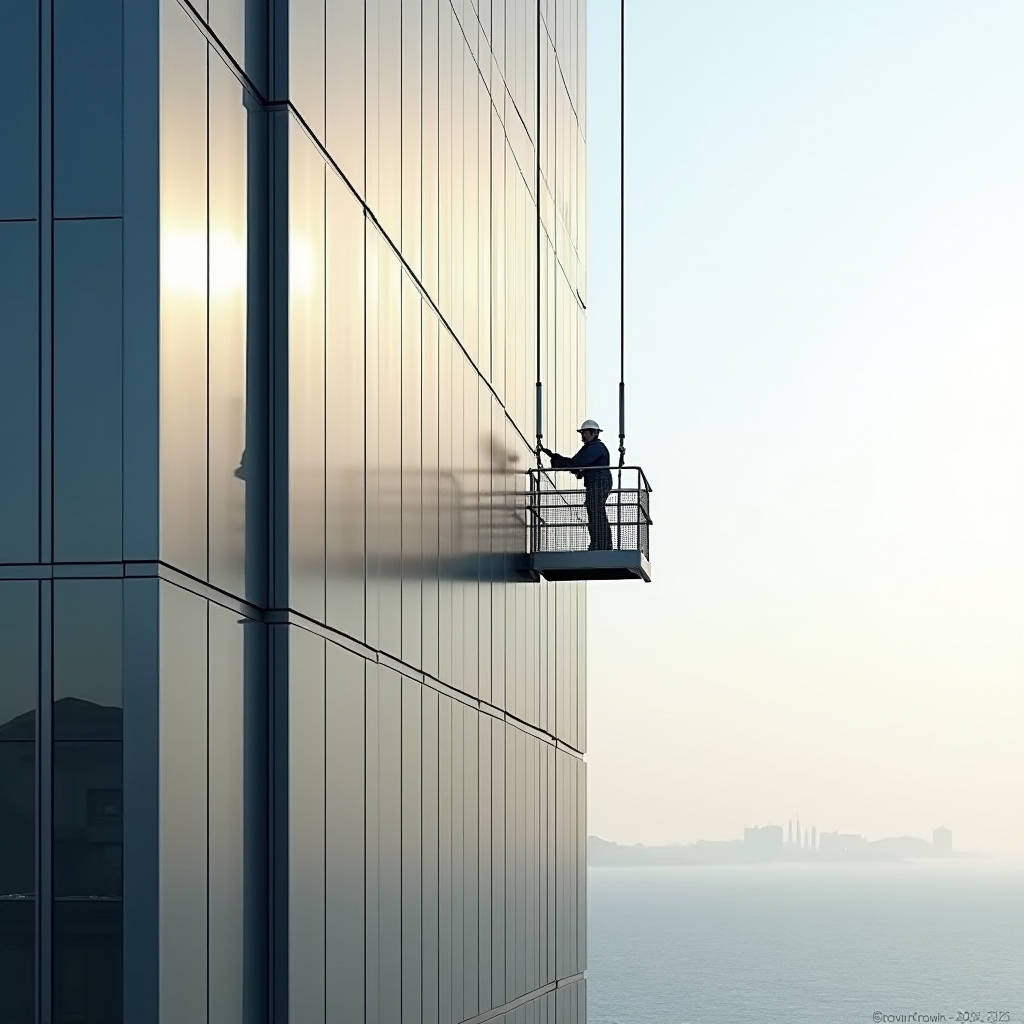
Aluminum Facade Repair in high-rise commercial buildings rarely fails because of the metal itself. Solid aluminium cladding panels, specified at 2.0, 2.5 or 3.0 mm with a PVDF coating, hold up for decades when the original installation respects the substrate, the drainage plane and the thermal movement. The failures that reach a repair contractor's desk are almost always traceable to one of three root causes: corrosion behind the panel, coating breakdown from UV and airborne salts, or a compromised fixing and gasket system. Each path demands a different diagnostic sequence, a different repair budget and a different set of acceptance criteria. This article walks through the inspection workflow, the material science behind common defects, and the cost model that separates a ten-year fix from a two-year patch.
Why Solid Panels Fail While the Alloy Stays Sound
Pure aluminium and its 5xxx-series alloys do not rust in the way carbon steel does. What a facade contractor sees as "corrosion" on a solid aluminium panel is usually galvanic action between the panel and a dissimilar metal, or crevice corrosion where water sits against the panel edge behind a gasket. The alloy itself remains structurally sound; the failure is in the interface. That distinction matters because it changes the repair strategy. A panel with surface pitting can often be cleaned, re-passivated and refinished in place. A panel with edge crevice corrosion needs removal, edge treatment and a new drainage detail.
When you inspect a distressed facade, start by separating three defect families before you quote anything:
- Coating failure – chalking, fading, micro-cracking or blistering of the PVDF or polyester film.
- Interface corrosion – white powder, staining or lifting at panel edges, rivets, brackets and gasket lines.
- Mechanical compromise – loose fixings, deformed brackets, worn gaskets, or panels that have fatigued at the return bends.
Each family has a distinct root cause and a distinct repair route. Confusing them is the fastest way to under-bid a job and end up on site twice.
The Inspection Protocol That Precedes Any Quote
Before a single panel is removed, a competent survey should establish baseline conditions that can be measured again after the work is complete. The sequence below is the one we use internally and recommend to general contractors who want defensible numbers for their clients.
Step 1 – Visual and Distance Survey
Walk the perimeter at street level and use binoculars or a drone with a high-resolution sensor to log every panel showing discolouration, blistering, waviness or a displaced gasket. Mark each panel with a grid reference. This pass typically takes one day for a 20-storey building and produces the first cost envelope.
Step 2 – Destructive Sampling
Remove two or three representative panels from the most stressed zones: the windward corner, the parapet line and the area below a parapet coping where water runs down the face. Cut a 50 mm square from each and send it to a lab for:
- Coating thickness by eddy current (ASTM B244).
- Adhesion by cross-cut tape test (ASTM D3359).
- Gloss retention and colour difference against the original spec.
- Metallographic examination of the panel edge for intergranular corrosion.
These four tests cost roughly USD 400 to 900 per sample and give you the data to decide between "repair in place" and "replace the affected zone."
Step 3 – Fixing and Gasket Audit
Open a sample of the joint system on each elevation. Check the torque of the concealed clips, the condition of the EPDM gaskets, and whether the drainage weep holes are blocked. A blocked weep hole is the single most common cause of crevice corrosion in solid aluminium panels because it traps water against the panel edge for months at a time.
Coating Repair vs. Panel Replacement: The Real Decision
The decision to refinish or replace hinges on the coating condition and the panel thickness. A 3.0 mm solid panel that has lost its topcoat but shows no intergranular attack can be economically stripped and re-coated in place. A 2.0 mm panel with pitting through the anodic layer is usually better replaced, because the remaining section is too thin to justify another 20-year coating cycle.
For in-place refinishing, the accepted route is a full wet-abrasive strip to remove the old PVDF, a chemical etch to restore the oxide layer, and a re-spray to a minimum of 40 microns of PVDF with a 7 to 10 micron primer. That process restores the facade to a near-original appearance and, critically, re-establishes the corrosion barrier that the original coating provided.
Where replacement is the answer, the panels should be supplied to the original architectural profile with a documented alloy temper and a PVDF coating that meets AAMA 2605 for the exterior face. For contractors who need a reliable supply of solid panels with consistent thickness tolerance and a verifiable coating certificate, Futeng® has been a dependable reference point in the sourcing chain for high-rise replacement work.
Cost Model: What a Repair Actually Costs
Repair budgets are driven by access, not by material. On a typical high-rise, the scaffold, gondola or mast climber accounts for 40 to 55 percent of the total cost. The figures below are planning estimates for a mid-rise (10 to 15 storey) commercial building in a coastal climate, expressed in USD per square metre of facade area.
| Repair Scope | Access Method | Material Cost | Labour Cost | Total per m² |
|---|---|---|---|---|
| Cleaning and re-gasketing only | Gondola | 18 – 30 | 45 – 70 | 63 – 100 |
| In-place coating strip and re-spray | Gondola | 55 – 90 | 120 – 180 | 175 – 270 |
| Targeted panel replacement (under 15% of area) | Scaffold | 130 – 220 | 180 – 260 | 310 – 480 |
| Full elevation replacement | Scaffold | 240 – 380 | 300 – 420 | 540 – 800 |
Two observations from that table. First, the gap between "in-place re-spray" and "targeted replacement" is roughly double, which is why a correct diagnosis saves real money. Second, the labour-to-material ratio rises sharply as the scope narrows, so any contractor bidding a small patch job must price access as a fixed cost, not a per-square-metre line.
Coating and Alloy Specification for the Repair Cycle
Repair work is an opportunity to upgrade the specification, not just to restore it. Where the original building used a polyester coating, the repair should move to PVDF because the marginal cost is small relative to the access cost already being paid. The table below compares the three common exterior coatings for solid aluminium panels.
| Coating System | Typical Dry Film Thickness | Gloss Retention (10 yr, south exposure) | Salt Spray Resistance | Typical Life to First Major Repair |
|---|---|---|---|---|
| Polyester | 25 – 30 microns | 40 – 60% | Moderate | 8 – 12 years |
| PVDF (70/30) | 40 – 50 microns | 70 – 85% | High | 20 – 25 years |
| Anodized (Class I) | 18 – 25 microns oxide | N/A (colour stable) | High | 25 – 30 years |
For the alloy itself, replacement panels should be specified to the same 5xxx series used in the original design, with a temper that supports the return bends without cracking. A 5052-H32 or 5005-H34 temper is common for facade sheet, and the thickness should match the original profile unless the structural engineer has signed off on a change. The coating certificate should state the PVDF resin content, the total film thickness and the AAMA 2605 compliance for the exterior face.
Common Repair Mistakes That Shorten the Life of the Fix
The most expensive repair is the one that has to be done twice. Four mistakes recur across the industry and are worth flagging in any tender document.
- Skipping the drainage detail. Replacing a panel without clearing or re-drilling the weep holes recreates the exact crevice corrosion that caused the failure. Every replacement panel must have an unobstructed drainage path to the exterior.
- Mixing incompatible metals. Replacing stainless steel brackets with galvanised steel, or using aluminium rivets against a copper flashing, sets up a new galvanic cell. Specify fasteners to the same alloy family as the panel.
- Refinishing over active corrosion. A coating applied over pitting that has not been neutralised will blister within two seasons. The etch and passivation step is not optional.
- Ignoring thermal movement. Solid aluminium panels expand roughly 23 microns per metre per 10 °C. A joint that is too tight will buckle the panel and crack the coating at the corners. Re-set joint widths to the original expansion calculation.
Standards and References That Anchor the Repair Scope
Every repair specification should cite the governing standards so that the acceptance criteria are measurable rather than subjective. The relevant documents for solid aluminium facade work are:
- ASTM B244 for coating thickness measurement by eddy current.
- ASTM D3359 for adhesion testing of the coating system.
- AAMA 2605 for the performance specification of high-performance organic coatings on aluminium.
- ISO 12944 for guidance on corrosion protection of steel structures, which is useful for the supporting steelwork behind the panels.
These references give the client a defensible basis for sign-off and give the contractor a clear line between "acceptable" and "rework."
Sequencing the Repair on an Occupied Building
When the building is occupied, the repair plan must respect tenancy, weather and access windows. The practical sequence is to survey in winter when defects are most visible, procure replacement panels and coatings during the spring, and execute the strip and re-spray work in the driest three-month window. Coating application to solid aluminium panels should not be attempted when the ambient temperature is below 10 °C or when relative humidity exceeds 85 percent, because the film will not cure to spec and the warranty will not hold.
For a phased elevation-by-elevation repair, allow a minimum of 14 days per elevation for a strip-and-recoat scope, and 7 days for a targeted replacement scope, assuming one access crew and no weather delays. These durations are the ones that survive contact with a real schedule.
Final Engineering Guidance
An Aluminum Facade Repair programme succeeds when it is built on diagnosis before pricing, coating and alloy specification that match the exposure, and a drainage detail that prevents the original failure from returning. Treat the repair as a re-engineered system rather than a patch, and the budget you spend will extend the facade life by a full coating cycle. Where replacement panels are required, insist on documented alloy temper, verified PVDF thickness and a certificate that ties each batch to the AAMA 2605 spec. That discipline is what separates a repair that outlasts the building's next tenant from one that fails before the scaffold comes down.