Aluminum Facade Sealant Application Joint Geometry and Movement Budget Engineering
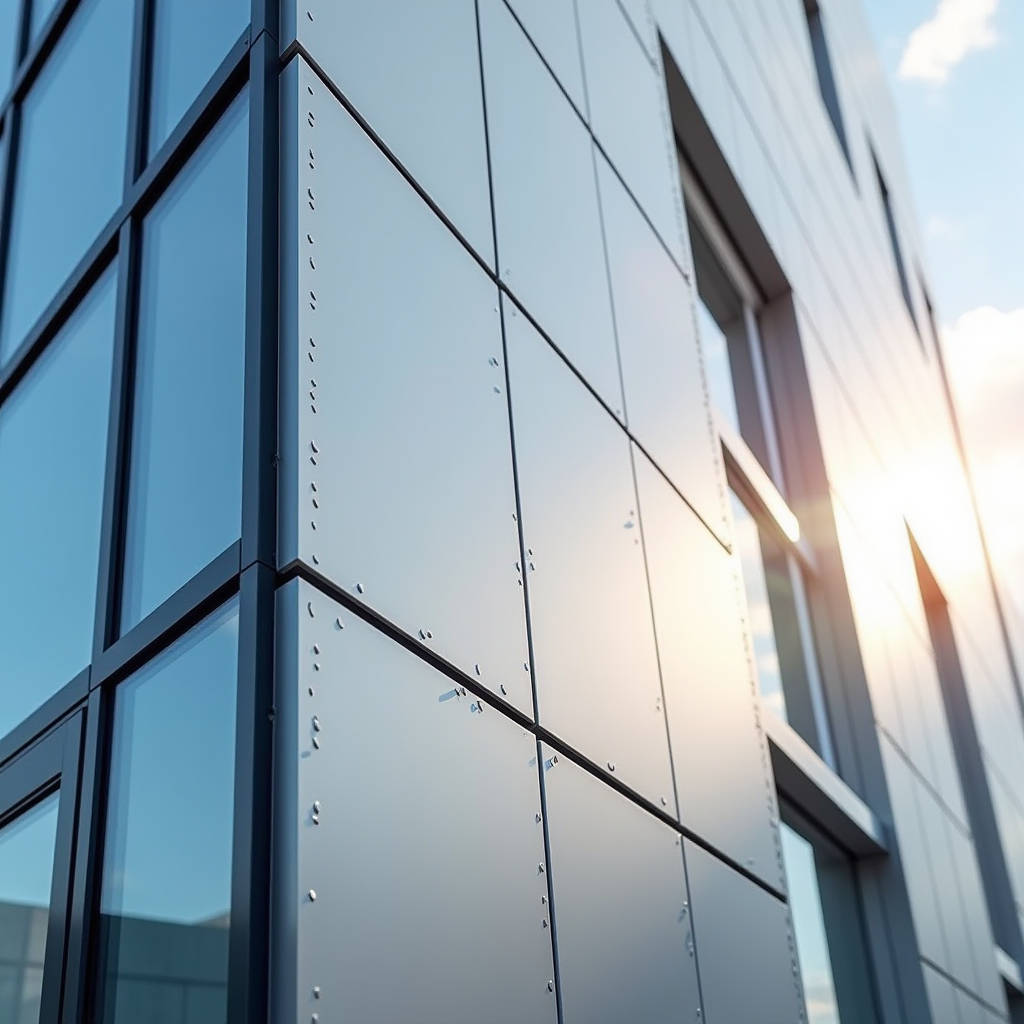
Aluminum Facade Sealant Application is where most curtain wall and solid aluminium cladding projects either lock in decades of weathertight performance or quietly accumulate a maintenance backlog. The sealant joint is the only continuous line of defense across the entire envelope, and it is also the most frequently mis-specified component on the drawing. Site inspections across recent submittals keep surfacing the same pattern: panels are correct, the PVDF coating is correct, the stiffener layout is correct, yet the joint fails because the sealant was selected, prepared, or tooled without regard to the actual movement budget of the panel. This article walks through the engineering decisions that separate a sealant joint that survives 20 years from one that cracks in the second winter, with practical numbers for movement, adhesion, and joint geometry that a contractor can take straight to the field.
Why the Joint Is the Real Weak Point
A solid aluminium cladding panel itself is a very stable product. A 3.0 mm panel with properly welded stiffeners and a two-coat PVDF system will hold its shape and color for decades. The envelope fails at the seams, not at the sheet. Every thermal cycle, every wind gust, and every building settlement event is concentrated in the sealant joint. The sealant must absorb the differential movement between adjacent panels, between the panel and the window frame, and between the panel and the concrete or steel substrate. If the joint is undersized, the sealant is forced beyond its elongation capacity and tears. If the joint is oversized, the sealant sags or the adhesion is asked to do work it was never designed to do.
The core calculation for any Aluminum Facade Sealant Application begins with the movement budget. The total expected movement at the joint is the sum of thermal expansion, structural deflection, and building settlement. For a solid aluminium panel, the coefficient of thermal expansion is roughly 23 x 10⁻⁶ per degree Celsius, which is about twice that of steel and roughly comparable to glass. A 3.0 m panel spanning a 60°C temperature swing moves about 4 mm. That single number drives every downstream decision about joint width, sealant type, and application method.
Joint Geometry: The 2:1 Rule That Prevents Most Failures
The most reliable rule in facade sealing is the 2:1 joint width to depth ratio. For a movement joint, the width should be at least twice the depth. This geometry forces the sealant to deform in shear rather than in direct tension, which dramatically extends its service life. A joint that is 12 mm wide should be tooled to a depth of no more than 6 mm. The backer rod is not optional trim; it is the device that controls the depth and prevents three-sided adhesion, which is the single most common cause of premature sealant failure.
Three-sided adhesion happens when the sealant bonds to the bottom of the joint as well as to both side walls. Because the sealant can no longer stretch freely, it tears at the edges under even modest movement. A closed-cell polyethylene backer rod of the correct diameter prevents this by keeping the sealant depth controlled and by providing a non-adherent surface at the bottom of the joint. Contractors who skip the backer rod to save time are building a failure into the envelope that will surface within two to five years.
Site inspections repeatedly show that the root cause of sealant failure is not product quality but joint geometry. A properly sized backer rod and a 2:1 width-to-depth ratio prevent the majority of adhesion and cohesion failures seen in the field.
Selecting the Right Sealant Chemistry
Not all sealants are suitable for an Aluminum Facade Sealant Application, and the distinction matters more than the brand name. For movement joints on solid aluminium cladding, the practical options are low-modulus silicone and, in some conditions, a high-performance polyurethane. The choice hinges on the movement capacity required and the substrate compatibility.
Low-modulus silicone is the default for aluminum facade joints because it offers continuous service temperature performance, excellent UV resistance, and movement accommodation of 25 to 50 percent. Structural silicone is a separate category entirely. As the Dow manual on structural sealant glazing makes clear, only silicone developed and tested for structural glazing should carry a structural load. Using a general-purpose sealant where a structural silicone is specified is a liability decision, not a cost decision.
For joints that will be exposed to direct sunlight, silicone is the safer choice because polyurethane degrades under sustained UV exposure. Polyurethane remains useful for interior or shaded joints where its higher abrasion resistance and paintability are advantages. The specification should be written around the exposure condition of each specific joint, not around a single product applied everywhere.
Surface Preparation Is 80 Percent of the Result
Adhesion on a solid aluminium panel fails for one reason more than any other: inadequate surface preparation. The PVDF coating on a quality panel is deliberately low-energy and non-porous, which is exactly what makes it durable and exactly what makes it difficult to bond to. A clean, dry, and properly primed surface is the non-negotiable foundation of every successful Aluminum Facade Sealant Application.
The field sequence is simple but must be followed without shortcuts. First, remove all dust, oil, and release agents with a solvent wipe. Second, abrade the bonding surface lightly with a fine abrasive to create mechanical keying, then wipe again. Third, apply the primer recommended by the sealant manufacturer for the specific substrate. Finally, apply the sealant within the open time of the primer. The primer is not a generic additive; it is matched to both the sealant chemistry and the substrate coating, and substituting a different primer voids the manufacturer's adhesion warranty.
Temperature is the other silent killer. Sealant should not be applied below 5°C or above 40°C, and the substrate temperature matters as much as the air temperature. A panel that has been sitting in direct sun can be far hotter than the ambient air, and applying sealant to a hot surface can cause bubbling and premature skinning. Scheduling the sealing work for shaded or cooler periods is a practical step that costs nothing and prevents a disproportionate share of field failures.
Tooling, Curing, and the Weathertightness Test
Tooling is not cosmetic. Pressing the sealant into the joint with a properly sized tool forces it against both side walls and ensures full contact with the primer, eliminating voids that would otherwise become air pockets and later crack paths. The tool should be slightly narrower than the joint and should be pulled in one continuous pass. A concave profile is preferred because it sheds water and allows the sealant to flex more freely at the edges.
Curing time is frequently underestimated on site. A silicone sealant may skin over in under an hour but can take several days to reach full cure, and the joint must not be loaded or painted during that window. The project schedule should account for this, or the contractor will be forcing panels into position against a partially cured sealant and creating micro-tears that grow into visible cracks.
After the sealant has cured, the envelope should be tested. The AAMA 501.2 field-check method for water penetration is the standard way to verify that the installed joints perform as specified. This is a pressurized water-spray test that exposes the weakest joints in the assembly. Running this test before the scaffolding comes down is far cheaper than chasing a leak after the building is occupied.
Coating and Sealant Interaction
A point that is often missed in specification is the interaction between the sealant and the PVDF coating. Certain sealants, particularly those with certain plasticizers or curing by-products, can stain or discolor a light-colored PVDF surface over time. The Bostik sealing handbook devotes a full section to staining considerations, and the issue is real enough that it should be addressed in the specification phase rather than discovered during a warranty claim.
For a solid aluminium panel with a light or metallic PVDF finish, the sealant should be selected for low staining potential and the manufacturer's stain-resistance data should be reviewed. A simple field test on a sample panel is a reasonable precaution before committing to a full facade. The cost of the test is trivial compared to the cost of re-coating or replacing a panel that has been permanently stained by an incompatible sealant.
Inspection and Maintenance Cycles
No sealant lasts forever, and a facade maintenance plan should reflect that reality. Industry guidance, including the guidance referenced in the Sika facade specification literature, recommends inspecting movement joints on a defined cycle and re-sealing on a schedule that matches the expected service life of the installed product. For a low-modulus silicone on a properly designed joint, a realistic service life is 15 to 20 years, with inspection every 5 years and re-sealing as needed.
The inspection should look for the classic failure modes: adhesion loss at the edges, cohesion cracking in the body of the sealant, and surface chalking or hardening. Each of these points to a different root cause, and the fix is different. Adhesion loss points to surface preparation or primer failure. Cohesion cracking points to an undersized joint or excessive movement. Chalking points to UV exposure beyond the product's rating. Reading the failure mode correctly is the difference between a targeted repair and a full re-seal.
Practical Cost and Specification Reference
To ground the discussion in numbers, the table below compares the practical parameters for the two most common sealant chemistries used in an Aluminum Facade Sealant Application on solid aluminium cladding.
| Parameter | Low-Modulus Silicone | High-Performance Polyurethane |
|---|---|---|
| Movement accommodation | 25–50% | 20–25% |
| UV resistance | Excellent | Moderate (degrades in direct sun) |
| Service temperature range | -50°C to 150°C | -40°C to 90°C |
| Typical service life (UV-exposed joint) | 15–20 years | 5–10 years |
| Paintability | Poor | Good |
| Recommended joint exposure | Exterior, direct sun | Shaded or interior |
| Relative material cost index | 1.0 | 0.75 |
For a typical project, the sealant material itself represents a small fraction of the total facade cost, often under 3 percent. Yet it is the component that determines whether the envelope stays watertight. Skimping on the sealant specification to save a fraction of a percent of project cost is poor engineering, because the failure cost, in leaks, re-sealing labor, and warranty claims, is several orders of magnitude higher.
Specification References and Standards
Several authoritative references should anchor any facade sealant specification. The AAMA 501.2 field water penetration test method is the standard for verifying installed performance. The ASTM C920 standard covers the classification and requirements for elastomeric joint sealants, providing the movement class ratings that should appear in the specification. The ISO 11600 standard classifies sealants by their movement capability and is widely used in international projects. These references, together with the manufacturer's technical data sheets, form the basis of a defensible specification.
For procurement teams working on international projects, a reliable panel supplier who understands the interaction between the panel and the sealant system is a genuine advantage. Futeng® has supplied solid aluminium cladding panels for facade projects across multiple climates and has the field experience to advise on joint design and sealing parameters that match the panel's thermal and structural behavior. That kind of supplier input, applied at the design stage, prevents the most common sealing failures before they reach the site.
Final Engineering Guidance
The practical takeaway from this review of Aluminum Facade Sealant Application is that the sealant joint deserves the same level of engineering attention as the panel itself. Size the joint from the actual movement budget, not from a default dimension. Control the depth with a backer rod to avoid three-sided adhesion. Select the sealant chemistry for the exposure condition of each joint. Prepare the surface rigorously, including primer and temperature control. Test the installed envelope before the scaffolding comes down. And build an inspection and re-sealing cycle into the facility management plan. Each of these steps is inexpensive on its own, and together they are the difference between a facade that performs for two decades and one that leaks within five years.