Open Joint Aluminum Cladding Engineering Guide for Barrier Sequencing Pressure Equalization and Panel Tolerances
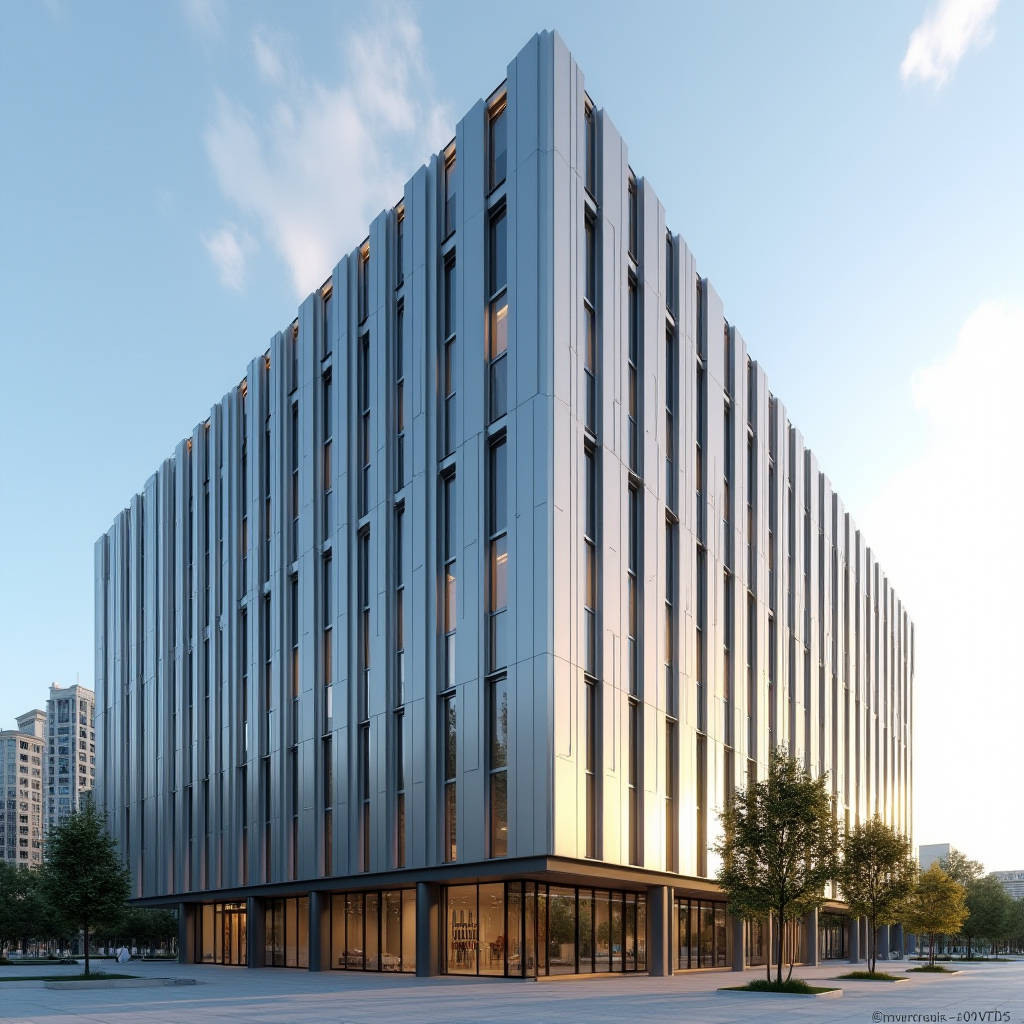
Open Joint Aluminum Cladding has moved from a niche architectural preference to a mainstream facade strategy, yet the engineering community still treats the visible gaps between panels as a purely aesthetic device. That is a costly misreading. The open joint is a working component of the building envelope: it controls pressure equalization, manages drainage, and—most critically—governs the drying potential of the entire wall assembly behind it. When specified correctly with solid aluminium panels, the system outperforms sealed facades in moisture management. When specified carelessly, the same gaps become a direct path for wind-driven rain and UV degradation of the cavity. This article walks through the physics, the barrier selection logic, the panel engineering tolerances, and the cost model that separates a durable open-joint rainscreen from a maintenance liability.
Why the Open Joint Changes Everything Behind the Panel
The most common failure in open-joint projects is not the cladding itself but the wall assembly that was designed for a sealed facade. A sealed system keeps bulk water out and relies on the cladding to do most of the weatherproofing work. An open-joint system deliberately invites air movement into the cavity, which means the building must be re-designed around the assumption that water will occasionally reach the cavity. The barrier strategy therefore shifts from "keep everything dry" to "let everything dry quickly."
Building science research consistently confirms that open-joint rainscreens offer an order of magnitude more drying potential than closed systems. The continuous ventilation flushes moisture vapor out of the cavity before it can condense against the sheathing or saturate the insulation. This is the central performance argument for specifying an open-joint facade on any project with high interior humidity, coastal exposure, or freeze-thaw cycling.
Sequencing the Water Control Layers
Every open-joint wall needs a clear hierarchy of control layers, each with a specific job. The order is not negotiable, and each layer must be detailed for the open-joint condition rather than copied from a sealed-wall detail.
- Drainage plane: The weather-resistive barrier (WRB) is the primary defense against bulk water. It must be installed with all seams lapped correctly and flashed at every penetration.
- Air barrier: This layer controls uncontrolled air leakage, which carries both moisture and energy. In an open-joint wall the air barrier must be continuous and, ideally, tested with a blower door before the cladding goes on.
- Thermal layer: Insulation must remain dry to perform. In a ventilated cavity, the insulation should be placed on the exterior side of the air barrier wherever possible, keeping the structure warm and reducing condensation risk.
- Ventilation cavity: The open joint feeds this cavity. Depth, vent area, and joint geometry all determine how effectively the cavity dries.
- Cladding: The solid aluminium panel is the aesthetic and impact-resistant outer skin, not the primary water barrier.
When the cavity is ventilated through open joints, the WRB must be rated for UV exposure. Standard black polyethylene building wraps degrade quickly under direct sunlight. A UV-stable membrane or a vented, UV-rated barrier is mandatory wherever the open joint exposes the barrier to daylight. This single specification change eliminates most premature barrier failures in open-joint walls.
Joint Geometry and Pressure Equalization
The width of the open joint is a design decision with structural consequences. Typical gaps range from 6 mm to 12 mm for solid aluminium panels, with deeper reveals used for shadow-line effects. The joint width must be balanced against the ventilation rate you need and the wind load the panel must resist.
Pressure equalization is the principle that makes open-joint cladding work under wind. The cavity is vented to the outside so that when wind pushes against the facade, the pressure inside the cavity rises to match the pressure outside. When the two pressures equalize, the driving force that would push water through the joint drops to near zero. This is why a properly detailed open-joint system can keep water out of the cavity even during heavy rain—the water simply has no pressure gradient to push it inward.
For pressure equalization to function, the cavity must be compartmentalized. Large continuous cavities equalize too slowly and allow wind-driven water to travel laterally behind the panels. Dividing the cavity into compartments—typically at floor lines and at panel module boundaries—limits water travel and speeds up equalization.
Solid Aluminium Panel Engineering for Open Joints
The panel itself must be engineered for the open-joint condition. Unlike a sealed system where the panel is held rigidly, an open-joint panel is exposed to full wind loading on its face and must be fixed to allow for thermal movement without transferring stress to the joints.
For solid aluminium cladding, the standard thickness range is 2.0 mm to 3.0 mm. The 2.0 mm sheet is suitable for most low-to-mid-rise applications with moderate wind zones. The 2.5 mm and 3.0 mm panels are specified for high-rise facades, high wind zones, or where the panel module is large and deflection control is critical. The panel must be stiffened with edge rebates or internal stiffeners when the unsupported span exceeds the manufacturer's deflection limits.
Thermal movement is the hidden killer of open-joint details. Aluminium expands roughly 23 µm per metre per degree Celsius. On a 3-metre panel in a climate with a 60°C seasonal temperature swing, that is nearly 4 mm of total movement. The open joint must be sized to absorb this movement, and the fixing system must allow the panel to slide on its brackets without binding. Fixed-point plus slotted-point fixing patterns are standard practice for solid aluminium open-joint facades.
Coating Selection for the Exposed Joint
Because the open joint exposes the panel edge and the cavity to UV and moisture, coating performance is more critical than on a sealed facade. The cut edges of the panel—where the aluminium substrate is visible—must be protected or detailed to avoid edge corrosion and coating delamination.
The table below compares the coating systems commonly specified for open-joint solid aluminium cladding, with the performance parameters that matter for a ventilated rainscreen.
| Coating System | Film Thickness | UV Resistance | Salt-Spray Resistance | Typical Warranty | Best Use Case |
|---|---|---|---|---|---|
| PVDF (70% Kynar 500) | 25–30 µm | Excellent, low chalking | Excellent | 20–25 years | Coastal, high-UV, architectural landmark facades |
| FEVE (fluoro-polymer) | 30–35 µm | Excellent, high gloss retention | Excellent | 20–25 years | Color-critical, high-gloss, complex geometries |
| Polyester (HDP) | 20–25 µm | Good, moderate chalking | Good | 10–15 years | Interior, low-exposure, budget projects |
| Anodized (Class I) | 18–25 µm oxide | Good, no chalking | Good to excellent | 15–20 years | Metallic finishes, industrial, low-maintenance |
For open-joint facades, the PVDF system is the default recommendation because the coating must tolerate direct UV exposure on the joint edges and the cavity-facing surfaces. The coating specification should also include a back-coat or edge seal on the panel to protect the aluminium from the moisture that reaches the cavity.
Cost Model: Open Joint vs. Sealed System
The cost difference between an open-joint and a sealed solid aluminium facade is not simply the price of the panel. The open-joint system typically saves on sealant and gasket materials but adds cost in the barrier system, the sub-framing, and the detailing labour. The net result depends heavily on the project's wind zone and the quality of the barrier specified.
The following table provides a comparative cost estimate per square metre of finished facade, based on typical mid-rise commercial projects in a moderate wind zone. Figures are indicative ranges and will vary by market and specification.
| Cost Component | Open-Joint System | Sealed System |
|---|---|---|
| Solid aluminium panels (2.5 mm PVDF) | $95–$130 | $95–$130 |
| Sub-framing and brackets | $45–$65 | $35–$50 |
| WRB / air barrier (UV-rated) | $18–$28 | $10–$15 |
| Ventilated cavity battens | $12–$18 | — |
| Sealant and gaskets | $3–$6 | $18–$30 |
| Installation labour | $60–$85 | $55–$75 |
| Total per m² | $233–$332 | $213–$300 |
The open-joint system typically runs 5–12% higher on first cost. That premium is recovered through lower long-term maintenance, no sealant replacement cycles, and better moisture performance that protects the structure behind the facade. On a 10,000 m² facade, the difference is roughly $200,000–$320,000 in first cost—a decision that should be weighed against the 20-year maintenance savings and the reduced risk of moisture-related claims.
Specifying the Barrier for Your Climate
Barrier selection is the single most important specification decision in an open-joint wall, and it must be driven by the project's climate, not by habit. The table below maps barrier types to the conditions that justify them.
| Barrier Type | UV Rating | Vapor Permeance | Recommended For |
|---|---|---|---|
| Standard asphalt-impregnated WRB | Not UV-rated | Low | Sealed facades only; not for open joints |
| UV-stable polyethylene (flat-black) | UV-rated | Low–moderate | Open joints with moderate cavity exposure |
| Vented, UV-rated WRB | UV-rated | High (vented) | Open joints in high-moisture or coastal climates |
| Self-adhered membrane | UV-rated (short-term) | Low | Critical air/water barrier; must be covered promptly |
In coastal or high-humidity regions, the vapor-open vented barrier is the safer choice because it allows the cavity to dry from the inside out as well as through the joints. In cold climates, the air barrier must be placed on the warm side of the insulation to prevent condensation, and the cavity must be deep enough to keep the cladding from acting as a cold bridge.
Installation Sequencing That Protects the Assembly
Open-joint cladding fails on site when the barrier is damaged or the cavity is contaminated. The installation sequence must protect the wall assembly from the moment the barrier goes on until the cladding is complete.
- Install the WRB and air barrier, taping all seams and flashing every penetration. Test the air barrier before proceeding if the specification requires it.
- Install the cavity battens or sub-framing over the barrier, taking care not to puncture the barrier with fasteners that are not sealed.
- Protect the barrier from construction traffic and weather. A UV-rated barrier can tolerate short exposure, but it is not a permanent finish.
- Install the solid aluminium panels with the specified fixing pattern, allowing for thermal movement at every module.
- Verify joint widths and alignment. The open joint is a design feature, so dimensional accuracy is a quality requirement, not a luxury.
On larger projects, a mock-up panel should be built and tested before mass production. The mock-up validates the joint detail, the barrier sequencing, and the fixing pattern against the actual panel tolerances and the specified wind load.
Engineering Standards and References
Open-joint rainscreen design is governed by a set of standards that every specifier should reference. The following are the authoritative sources for the data used in this article:
- ISO 12944 for coating corrosion protection and the salt-spray performance of the PVDF and FEVE systems referenced in the coating table.
- AAMA 508 for the pressure-equalized rainscreen test procedure that validates open-joint performance under simulated wind and rain.
- ASTM E283 for air leakage testing of the air barrier behind the open-joint cladding.
- ASTM E331 for water penetration testing of the wall assembly, which should be run on the mock-up before mass production.
- Building Science Corporation for the drying-potential research and the ventilation-rate data that underpin the cavity design recommendations.
These standards give the design team a defensible basis for the joint geometry, barrier selection, and panel thickness decisions. Specifying against them also makes the project easier to inspect and to defend in the event of a performance dispute.
Practical Guidance for the Project Team
For a contractor or façade engineer specifying an open-joint solid aluminium facade, the practical sequence is straightforward. Confirm the wind zone and the required panel thickness early, because that drives the framing and the fixing budget. Select the barrier based on the climate and the UV exposure of the joint, not on the lowest first cost. Size the cavity and the joint width to the ventilation rate you need, and compartmentalize the cavity to make pressure equalization work. Finally, build and test a mock-up before committing to mass production.
When sourcing the solid aluminium panels themselves, a supplier that can hold tight thickness tolerances and coating consistency across a large production run is worth more than a marginally lower unit price. A panel that varies in thickness or coating across a batch will show up as uneven joints and colour mismatch on an open-joint facade, where every edge is visible. Suppliers such as Futeng® have built their reputation on consistent 2.0–3.0 mm solid aluminium sheet production and PVDF coating control, which is exactly the reliability an open-joint project needs to deliver a clean, durable result.
The open-joint system is not a low-cost shortcut, and it is not a purely decorative choice. It is a high-performance rainscreen that rewards careful engineering with decades of maintenance-free service. The teams that understand the barrier sequencing, the joint geometry, and the panel tolerances will deliver facades that stay dry, stay flat, and keep their colour for the full design life. The teams that treat the open joint as a simple gap will be back on site within a decade, chasing moisture claims and coating failures.