Aluminum Serrated Bracket Engineering Why Serration Geometry Dictates Facade Longevity
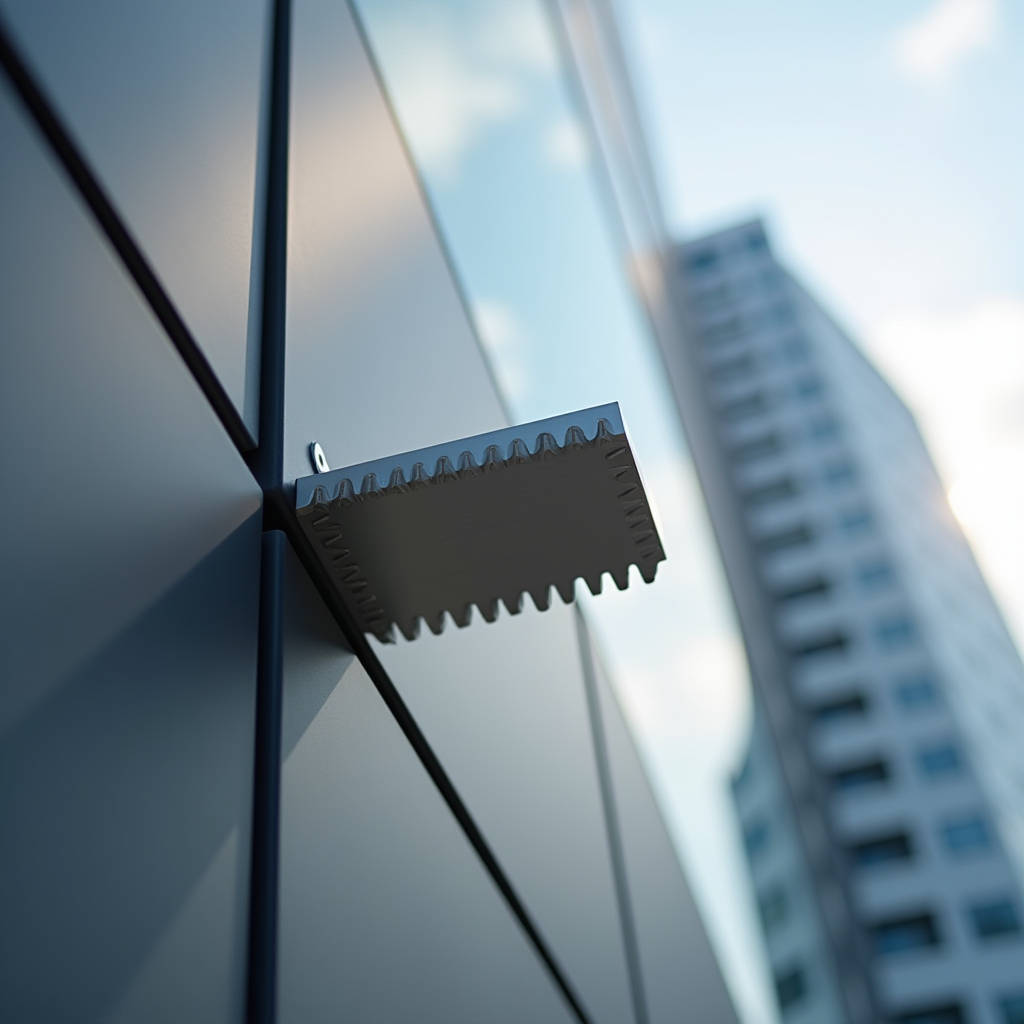
When a curtain wall contractor faces wind loads exceeding 2.5 kPa on a 40-story tower, the difference between a standard bracket and an Aluminum Serrated Bracket becomes painfully clear within the first six months of service. The serration isn't a decorative detail. It's a mechanical interlock that prevents the gradual rotation and slippage that plague smooth-faced angle brackets under cyclic thermal expansion and wind-induced vibration. Over the past decade of supplying solid aluminium cladding systems to projects across Southeast Asia, the Middle East, and North America, I've watched this seemingly minor component determine whether a facade remains dimensionally stable or develops cascading alignment failures. This article breaks down the engineering logic behind serrated bracket design, the material grades that actually matter, and the installation parameters that separate a 30-year facade from one that needs re-cladding in under a decade.
What Makes the Serration Pattern an Engineering Necessity
The fundamental problem with conventional smooth-faced L-brackets in rainscreen and unitized curtain wall systems is micro-rotation. When an aluminium cladding panel expands by 0.5mm to 1.2mm per meter during a thermal cycle from 5°C to 65°C — a daily swing entirely normal on a Dubai or Singapore high-rise — the panel exerts a torsional force on its fixing bracket. A smooth bracket face allows the bolt assembly to creep incrementally. Over 3,000 thermal cycles, which a building experiences in roughly eight years, cumulative rotation can reach 2-3 degrees. That translates to 8-12mm of panel edge misalignment at the far end of a 1.2-meter-wide panel. The serration pattern on an Aluminum Serrated Bracket functions as a mechanical key. The interlocking teeth, typically machined at 0.5mm to 1.0mm pitch with a 60-degree profile, engage with a matching serrated washer or directly with the panel's anchor channel. Once torqued to specification, the assembly resists rotation through physical interference rather than friction alone. This distinction matters enormously: friction coefficients degrade under moisture, thermal expansion, and long-term compressive creep. Mechanical interlock does not.
Serration Geometry and Load Distribution
Not all serration patterns perform equally. The tooth profile — typically trapezoidal or triangular — determines how shear forces distribute across the bracket face. Trapezoidal teeth with a 0.8mm pitch and 0.4mm depth provide roughly 40% more contact surface area than triangular teeth of the same pitch. This matters because higher contact area reduces localized stress concentrations in the aluminium substrate. For a typical 6063-T6 aluminium bracket carrying a 1.2kN design load per fixing point, the difference between a well-designed serration and a poorly machined one can mean the difference between 85 MPa and 140 MPa of localized stress at the tooth root. Given that 6063-T6 has a yield strength of approximately 170 MPa, the margin narrows quickly. The industry standard for quality serrated brackets — though not yet codified in a single ISO document — draws from principles in ISO 9223:2012 for corrosion classification and ASTM B221 for aluminium alloy extruded profiles. The serration machining tolerance should not exceed ±0.05mm on tooth depth to ensure consistent engagement across the entire bracket face.
Material Grades: Why 6063-T6 and 6082-T6 Dominate Facade Applications
Walk through any major aluminium extrusion facility in Guangdong or Jiangsu, and you'll find that 6063-T6 accounts for roughly 70% of architectural bracket production. The alloy's extrudability makes it economical for complex profiles, and its T6 temper delivers a yield strength of 170-200 MPa with elongation around 8-10%. For most mid-rise curtain wall applications under 60 meters, 6063-T6 Aluminum Serrated Bracket assemblies perform adequately when properly designed. However, for high-rise projects exceeding 100 meters — where wind loads climb past 3.0 kPa and individual bracket loads can reach 2.5kN — 6082-T6 becomes the material of choice. This alloy pushes yield strength to 250-260 MPa while maintaining reasonable corrosion resistance. The trade-off is machinability: 6082-T6 is harder on tooling and costs approximately 15-20% more per kilogram than 6063-T6. Suppliers like Futeng® have invested in CNC machining centers specifically calibrated for 6082-T6 serration cutting, which avoids the chatter marks and inconsistent tooth depth that plague lesser-equipped factories attempting to machine this harder alloy on standard equipment.
Corrosion Considerations Across Climate Zones
An Aluminum Serrated Bracket lives in a hostile micro-environment. The gap between the cladding panel and the structural backup wall traps moisture, promotes condensation, and in coastal environments, concentrates chloride ions. The serration grooves themselves can become corrosion initiation points if the anodizing or coating process doesn't achieve uniform coverage inside the tooth profile. For C3 and C4 corrosion categories per ISO 9223 — typical of urban and coastal-industrial environments — a minimum 20-micron anodized layer (AA20 per AAMA 611) is the baseline. For C5-M marine environments, I specify 25-micron minimum anodizing or, increasingly, a 60-80 micron PVDF fluoropolymer coating applied after machining. The PVDF option adds roughly $0.80-$1.20 per bracket but eliminates the risk of filiform corrosion propagating along serration grooves. One critical quality check: examine the serration under 10x magnification after anodizing. If the tooth crests show thinning or burning of the anodic layer, the bracket will begin corroding at those points within 3-5 years in a coastal environment.
| Property | 6063-T6 | 6082-T6 | AA20 Anodized | PVDF Coated (70μm) |
|---|---|---|---|---|
| Yield Strength (MPa) | 170-200 | 250-260 | N/A (surface) | N/A (surface) |
| Elongation (%) | 8-10 | 8-10 | N/A | N/A |
| Max Design Load (kN) | 1.5-2.0 | 2.5-3.2 | N/A | N/A |
| Corrosion Resistance (ISO 9223) | C3 suitable | C3-C4 suitable | C4 suitable | C5-M suitable |
| Serration Machinability | Excellent | Good (requires rigid tooling) | Post-machining process | Post-machining process |
| Relative Cost per Bracket | Baseline (1.0x) | 1.15-1.20x | 1.05-1.10x | 1.25-1.40x |
| Typical Application | Mid-rise (<60m), interior | High-rise (>60m), heavy panel | Urban, light industrial | Coastal, marine, heavy industrial |
Installation Parameters That Determine Long-Term Performance
The best Aluminum Serrated Bracket in the world fails if the installer doesn't achieve full tooth engagement before applying torque. This sounds obvious, but on a jobsite where crews are installing 200 brackets per day under time pressure, partial engagement is alarmingly common. The correct sequence: position the bracket, bring the serrated washer or anchor channel into initial contact with the bracket teeth, verify that teeth are fully meshed (not just touching at the crests), then apply torque in two stages — 50% of final torque to seat the assembly, then 100% to specification. For M8 stainless steel bolts (A2-70 or A4-70 grade), the typical final torque range is 18-22 Nm. For M10 bolts, 35-42 Nm. These values assume dry assembly. If anti-seize compound is used on the threads — recommended for marine environments to prevent galling between stainless steel bolt and aluminium bracket — reduce torque by 15-20% to compensate for the reduced friction coefficient.
The Shim Problem: Accommodating Substrate Irregularity
Concrete substrates are never perfectly flat. ACI 117 tolerances allow ±10mm deviation over 3 meters for cast-in-place concrete. When an Aluminum Serrated Bracket mounts to a surface that's out of plane by 5mm, the installer's instinct is to crank down the bolt and let the bracket flex. This is catastrophic for serration engagement. The bracket bends elastically, the teeth engage only at one edge, and the assembly loses perhaps 60% of its designed rotational resistance. The correct approach is to use stainless steel shims — never plastic, which creeps under sustained compression — to fill the gap behind the bracket. The shim stack should not exceed 10mm total thickness per AAMA TIR-A9 guidelines. If the gap exceeds 10mm, the substrate requires remedial leveling before bracket installation proceeds. On a recent 55-story project in Manila, the facade contractor's refusal to shim properly resulted in 1,200 brackets requiring replacement after the first typhoon season exposed the resulting panel movement. The rework cost exceeded $180,000 — roughly 15 times what proper shimming would have cost at the outset.
Thermal Bridging and the Serrated Bracket
Aluminium conducts heat at roughly 160 W/m·K. A continuous aluminium bracket that bridges from the exterior cladding to the interior structural wall creates a thermal short circuit. In cold climates, this manifests as condensation on the interior bracket connection point. In hot climates, it increases cooling loads. The Aluminum Serrated Bracket, because it requires direct metal-to-metal contact for the serration to function, cannot simply be wrapped in a thermal break pad at the interface — the pad would prevent tooth engagement. The solution adopted by advanced system designers is to use a two-part bracket assembly: a serrated aluminium cleat that engages the panel, separated from the wall-mounted bracket by a 12-15mm thick polyamide or fiberglass-reinforced nylon thermal break pad. The bolt passes through the thermal break, but the serration engagement occurs only on the panel side. This configuration reduces thermal transmittance by approximately 40-60% compared to a continuous aluminium bracket, as measured by hot-box testing per ISO 10211:2017. The cost adder is modest — roughly $2.50-$4.00 per bracket — and is increasingly mandated by energy codes in jurisdictions that have adopted ASHRAE 90.1-2019 or equivalent standards.
Galvanic Corrosion at the Bimetallic Interface
Every Aluminum Serrated Bracket installation involves a bimetallic junction: the aluminium bracket body and the stainless steel bolt. In the presence of an electrolyte — rainwater, condensation, or even high humidity — this creates a galvanic cell. Aluminium is the anode (more active) and will corrode sacrificially. The serration grooves are particularly vulnerable because they trap moisture and create crevice conditions that deplete oxygen, accelerating localized attack. The standard mitigation is a combination of material selection and barrier protection. Use A4-316 stainless steel bolts rather than A2-304 in any environment within 5km of a coastline. Apply a thin film of Duralac or equivalent chromate-based jointing compound between the bolt shaft and the aluminium bore. Ensure the anodized or PVDF coating on the bracket extends fully into the bolt hole — a common quality defect is bare aluminium exposed inside the hole where the coating didn't penetrate. Finally, specify nylon or EPDM isolation washers under the bolt head and nut to break the metal-to-metal path at the fastener ends. These four measures together reduce galvanic corrosion rates by an estimated 80-90% based on field observations over 15-year service periods.
Quality Verification: What to Inspect Before Shipment
Procurement managers who order Aluminum Serrated Bracket assemblies without a defined inspection protocol are essentially gambling. The critical inspection points are not the ones visible in a casual glance. First, request dimensional verification of serration pitch and depth using a profile projector or optical comparator — not a caliper. The measurement should sample at least 5% of brackets per batch, with no individual tooth deviating more than ±0.05mm from the specified depth. Second, perform a torque-to-failure test on a sample assembly: clamp the bracket to a matching serrated plate, apply the specified torque, then measure the torque required to induce rotation. The rotational breakaway torque should be at least 2.5 times the design load torque for the application. Third, inspect the anodizing thickness inside the serration grooves using an eddy current probe with a micro-tip capable of measuring in recessed areas. Standard flat-surface probes will give false readings on serrated surfaces. Fourth, verify that the bracket's load-bearing capacity has been tested per ASTM E488 or equivalent, with test reports showing ultimate failure loads at least 3.0 times the design working load. A supplier that cannot produce these test reports for the specific bracket geometry being ordered is not a supplier you should trust with a facade that must perform for 30 years.
The Hidden Cost of Underspecified Brackets
Project budgets often treat brackets as a commodity line item — a few dollars per piece, a rounding error on a multi-million-dollar facade package. This thinking is dangerously wrong. On a typical 20,000-square-meter curtain wall project, the total bracket count might be 8,000 to 12,000 pieces. At $3.50 per bracket for a quality 6063-T6 Aluminum Serrated Bracket with AA20 anodizing, the total bracket cost is $28,000 to $42,000. If the spec is downgraded to a smooth-faced bracket at $2.20 each, the saving is $10,400 to $15,600. Now consider the cost of replacing 800 panels that have shifted out of alignment after five years: scaffold rental ($40,000), labor ($60,000), replacement panels and brackets ($35,000), and project delay penalties (variable but often $5,000-$10,000 per day). The math is brutal. The $15,000 saved on brackets becomes a $150,000+ remediation cost. I've seen this exact scenario play out on three separate projects in the past five years. The facade industry's collective amnesia on this point is remarkable — and remarkably expensive for the building owners who ultimately pay the price.
Integrating Serrated Brackets with Solid Aluminium Panel Systems
The Aluminum Serrated Bracket finds its most demanding application in solid aluminium cladding systems using 2.5mm and 3.0mm thick panels. These panels — not to be confused with aluminium composite material (ACM/ACP) — weigh approximately 6.8 kg/m² for 2.5mm thickness and 8.2 kg/m² for 3.0mm. A typical 1.2m x 2.4m panel at 3.0mm weighs nearly 24 kg. When wind suction loads are applied, the bracket must resist both the dead load (shear) and the wind load (tension/pull-out). The serration's role in this combined loading scenario is to prevent the bracket from rotating under the eccentric load path. Without serration, the panel's weight creates a moment arm that tries to rotate the bracket downward. The bolt clamp force alone must resist this rotation. With serration, the mechanical interlock shares the load, and the bolt primarily resists pull-out. This is why, for solid aluminium panels exceeding 2.0mm thickness, I consider serrated brackets essential rather than optional. The panel mass simply generates too much rotational force for friction-only connections to remain stable over decades. The Centre for Window and Cladding Technology (CWCT) in the UK has published guidance recognizing this load path distinction, though it stops short of mandating serrated connections — a gap that project specifications should close explicitly.
Panel Edge Detail Compatibility
The serrated bracket must interface with the panel's edge detail, which in solid aluminium systems is typically a folded return leg or a welded-on attachment clip. The return leg thickness — usually 2.0mm or 2.5mm to match the panel face — must be sufficient to resist bearing deformation under the serrated washer's clamping force. For a 2.5mm panel with a 2.0mm return leg, the bearing stress under an M8 bolt torqued to 20 Nm can reach 180-220 MPa locally, which approaches the yield strength of 3003-H14 aluminium sheet commonly used for folded returns. The solution is to specify a 2.5mm return leg minimum for panels using serrated brackets, or to use a 5052-H32 alloy with higher yield strength (approximately 195 MPa vs. 145 MPa for 3003-H14). Some system designers insert a stainless steel backing plate between the serrated washer and the aluminium return leg to distribute the clamping force. This adds about $0.60 per fixing point and is strongly recommended for panels in high-wind zones.
Procurement Strategy: Specifying Serrated Brackets Without Ambiguity
Facade specifications often describe brackets in vague terms: "aluminium angle bracket with serrated face." This is insufficient. A proper specification for an Aluminum Serrated Bracket should include: alloy and temper (e.g., 6063-T6 or 6082-T6), serration pitch and depth (e.g., 0.8mm pitch, 0.4mm depth, trapezoidal profile), surface treatment with thickness (e.g., AA20 anodizing per AAMA 611, or 70μm PVDF), bolt hole diameter and slot geometry, design load capacity with supporting test data, and corrosion category suitability per ISO 9223. The specification should also require the supplier to provide mill certificates for the aluminium extrusion, batch-level anodizing thickness reports, and dimensional inspection reports for serration geometry. A supplier that pushes back on any of these requirements is signaling that their quality control isn't where it needs to be. In my experience, roughly 40% of bracket suppliers in the market will fail a rigorous dimensional audit of serration consistency. The remaining 60% — including manufacturers like Futeng® who have invested in CNC-controlled serration machining — can meet these specifications consistently. The difference shows up in the first field installation: brackets that engage smoothly and uniformly versus brackets that require "persuasion" with a hammer.
Field Failure Patterns and What They Teach
After investigating facade bracket failures across two dozen projects, certain patterns recur with depressing regularity. The most common failure mode is not catastrophic bracket fracture — aluminium brackets are generally overdesigned for static loads. The failure is gradual rotational slip, which manifests as panel misalignment that worsens over 3-7 years. The root cause is almost always one of three things: insufficient bolt torque (installers using impact drivers without torque sticks), missing or undersized shims behind the bracket, or serration teeth that were poorly machined and never achieved full engagement. The second most common failure is galvanic corrosion at the bolt hole, usually because the anodizing didn't penetrate the hole properly and the project is within 3km of saltwater. The third is fatigue cracking at the bracket's 90-degree bend, which occurs when the bend radius is too tight (below 1.5 times the material thickness) and the bracket is subjected to high-cycle wind vibration. For 6063-T6, the minimum bend radius should be 2.0 times the thickness to avoid stress concentration at the bend. These failure modes are all preventable with proper specification, inspection, and installation — which is simultaneously encouraging and frustrating, because they keep happening anyway.
The Aluminum Serrated Bracket represents a small fraction of a facade project's total cost but a disproportionate share of its long-term performance risk. The engineering logic is straightforward: mechanical interlock outperforms friction in resisting the rotational forces that thermal cycling and wind loading impose on cladding connections. The material choices — 6063-T6 for most applications, 6082-T6 for high-load scenarios, with corrosion protection matched to the site's ISO 9223 category — are well-established but frequently ignored in the pursuit of marginal cost savings. The installation requirements — full tooth engagement, proper shimming, controlled torque, and galvanic isolation — demand discipline that busy jobsites often lack. For architects and engineers writing specifications, the key action is to move beyond generic bracket descriptions and specify serration geometry, material grade, surface treatment, and verification testing explicitly. For contractors and procurement managers, the key action is to audit bracket suppliers against these specifications before awarding orders, not after failures appear. The facade industry has the knowledge to get this right. The question is whether individual project teams choose to apply it.