Aluminum Stud Fixation Methods for Solid Aluminium Cladding Panel Stiffeners
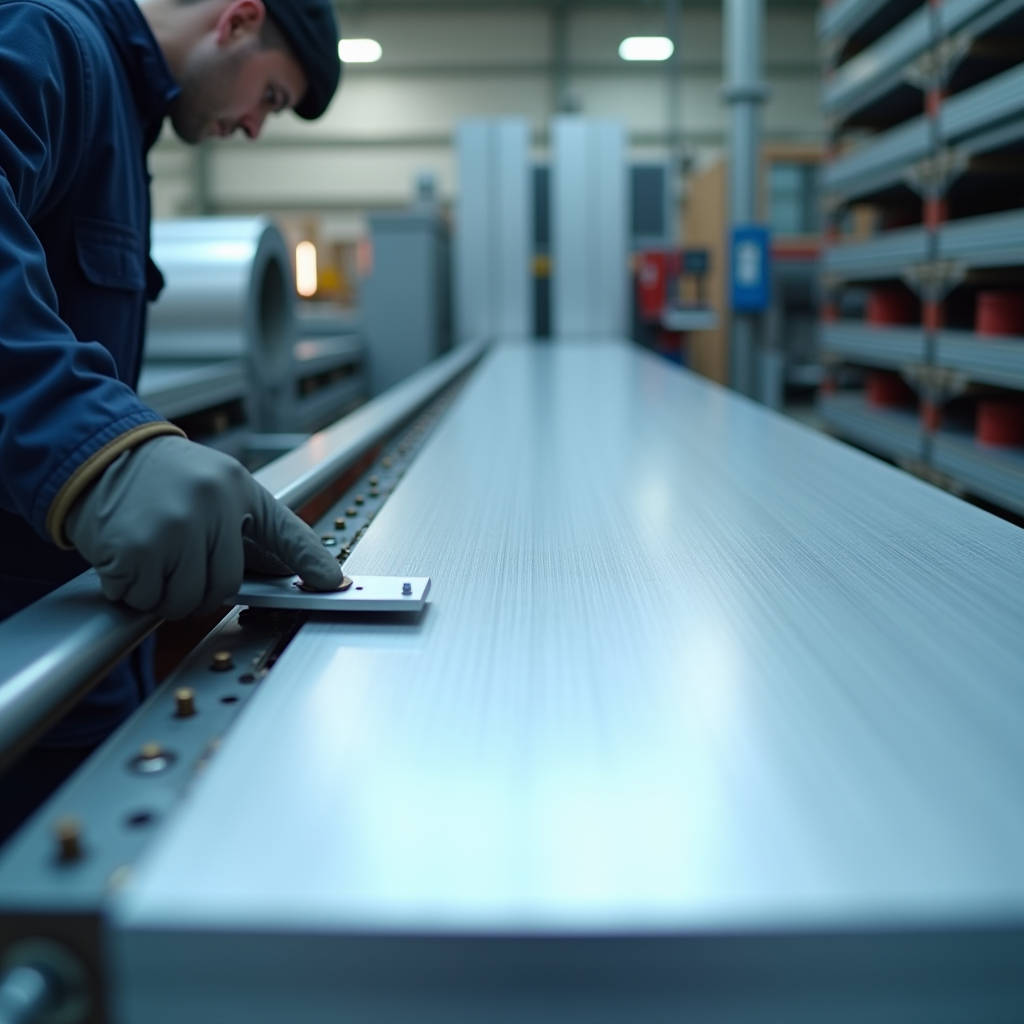
When a cladding contractor opens a shipment of large-format solid aluminium panels and finds stiffener studs rattling loose inside the crate, the project has already lost money. Aluminum Stud Fixation is not a secondary detail in façade engineering. It is the structural handshake between the panel body and its reinforcement framework. Get it wrong, and wind load performance collapses regardless of how thick the aluminium sheet is. This article examines the mechanical and procedural realities of fixing studs to solid aluminium cladding panels, focusing on the intersection of structural integrity, fabrication tolerances, and long-term weather resistance. Every observation here comes from real-world submittal reviews, site failure investigations, and conversations with façade engineers who have inherited problems that started at the stud-to-panel connection.
Why Aluminum Stud Fixation Matters More Than Panel Thickness
A 3.0mm solid aluminium panel with poorly fixed stiffeners will deflect more under wind suction than a properly stiffened 2.0mm panel. The stud fixation point is where stress concentrates. When a gust hits the façade, negative pressure tries to pull the panel outward. The stiffener resists this by transferring load through the studs into the panel body. If the stud-to-panel bond is compromised, the stiffener becomes dead weight.
What makes Aluminum Stud Fixation particularly unforgiving is the thermal expansion differential. Aluminium expands at roughly 23 × 10⁻⁶ per °C. A 4-meter panel facing a 50°C temperature swing between summer sun and winter night will move approximately 4.6mm. The studs must hold firm through every cycle without working loose. This is not a static problem. It is a fatigue problem hiding inside a thermal problem.
Contractors who treat stud fixation as a simple "screw it in" operation discover the consequences during the first windstorm. The failure mode is rarely catastrophic collapse. It is the slow degradation of panel flatness, the appearance of oil-canning, and eventually water ingress through deflected joints. By the time the building owner notices, the warranty claim is already in motion.
Mechanical Fixation: The Stud Bolt and Screw Methodology
Mechanical fastening remains the dominant approach for Aluminum Stud Fixation in solid aluminium cladding. The principle is straightforward: a threaded stud or self-tapping screw passes through the stiffener flange and into the back face of the aluminium panel. What is less obvious is the engineering discipline required to execute this correctly.
Material Thickness at the Engagement Point
The panel thickness at the stud location must be sufficient to develop full thread engagement. For a standard M5 or M6 stud, the aluminium substrate should provide at least 2.5× the thread pitch in engaged thickness. With a 2.5mm panel and a 0.8mm pitch thread, that gives roughly 3.1 threads engaged. This is marginal. Many fabricators specify a minimum 3.0mm panel thickness at stud locations, or they use locally thickened bosses formed during fabrication.
A common site failure observed during inspection involves studs that appeared tight during fabrication but loosened after transport. The root cause is almost always insufficient thread engagement combined with vibration during shipping. The stud did not pull out. It simply rotated in its hole until the clamping force disappeared.
Pull-Out Strength Calculations
The pull-out capacity of a mechanically fixed stud in aluminium can be estimated using the formula:
Fpull-out = π × d × t × τaluminium
Where d is the nominal stud diameter, t is the engaged thickness, and τ is the shear strength of the aluminium alloy (typically 90-110 MPa for 3003-H14 or 5052-H32). For an M6 stud in 3.0mm 5052-H32, the theoretical pull-out strength approaches 5.6 kN. In practice, fabricators should apply a safety factor of 3.0, giving a design value of approximately 1.9 kN per stud.
This calculation assumes the hole is correctly sized. An oversized hole reduces engaged area dramatically. A hole that is 0.3mm oversize on an M6 stud can reduce pull-out capacity by 15-20%. This is why punched holes are generally preferred over drilled holes for stud fixation. Punching produces a cleaner, more dimensionally consistent aperture.
Stud Welding for Aluminium Cladding: Capacitor Discharge Techniques
Capacitor Discharge (CD) stud welding offers an alternative to mechanical fastening for Aluminum Stud Fixation. The process uses a rapid electrical arc to fuse the stud directly to the aluminium panel surface. No hole is required. The weld is completed in milliseconds, and the heat-affected zone is minimal.
The advantage for cladding applications is clear: no penetration of the weather seal. A mechanically fixed stud creates a potential leak path, however small. A welded stud leaves the panel face intact. This matters on projects where the building envelope is subject to driving rain testing or where the interior face of the panel is visible.
Weld Quality Variables
CD stud welding on aluminium is sensitive to surface condition. The oxide layer that naturally forms on aluminium must be removed immediately before welding. Any contamination, oil, or moisture at the weld point will produce porosity and reduced strength. The weld current, time, and spring pressure must be calibrated for the specific stud diameter and aluminium alloy.
A properly executed CD weld on a 5052 aluminium panel with an M5 aluminium stud should achieve tensile strengths exceeding the stud material itself. The failure mode should be stud fracture, not weld separation. When welds fail, the fracture surface tells the story. A shiny, flat fracture indicates lack of fusion. A dull, granular fracture with aluminium adhered to the stud base indicates a sound weld that failed in the parent material.
One limitation that contractors should understand: CD stud welding is generally limited to stud diameters below 8mm for aluminium. Larger diameters require drawn arc stud welding, which introduces more heat and a larger heat-affected zone. For the typical stiffener attachment application using M5 or M6 studs, CD welding is well within its capability envelope.
PEM Stud Technology: Press-In Threaded Fasteners for Aluminium
PEM studs represent a third path for Aluminum Stud Fixation. These are press-in fasteners that embed into a pre-punched or pre-drilled hole in the aluminium panel. The stud has a knurled or serrated shank that displaces aluminium as it is pressed in, creating a mechanical interlock. The installation requires a press tool capable of delivering controlled force.
The key advantage of PEM studs is repeatability. Unlike welding, which depends on operator skill, PEM installation is a purely mechanical process. If the hole size is correct and the press force is within specification, every stud will achieve the same performance. This makes PEM studs attractive for high-volume fabrication where quality consistency is paramount.
However, PEM studs have a practical limitation for solid aluminium cladding. The panel must be accessible from both sides during installation. This is feasible for stiffeners attached to flat panel backs before folding, but it becomes challenging for studs located near side bends or in corners. The press tool requires clearance, and the panel must be supported against the pressing force without distortion.
Installation data for PEM studs in 5052-H32 aluminium at 3.0mm thickness shows typical pull-out values of 2.5-3.8 kN for M5 studs and 3.5-5.2 kN for M6 studs. These values assume correct hole diameter and full stud insertion. A stud that is not fully seated will lose 30-50% of its rated capacity.
Stiffener Geometry and Stud Spacing: Engineering the Layout
Stud fixation is only as good as the stiffener layout it supports. A common mistake is treating stud spacing as a uniform grid without considering panel aspect ratio and wind load distribution. The correct approach starts with the panel's bending moment diagram under the specified wind pressure.
For a simply supported stiffener spanning between panel side bends, the maximum bending moment occurs at mid-span. This is where stud spacing should be closest. Near the supports, spacing can increase. The following table provides practical spacing guidelines based on panel size and design wind pressure for 3.0mm solid aluminium panels with aluminium hat-section stiffeners:
| Panel Width (mm) | Design Wind Pressure (kPa) | Stud Spacing at Mid-Span (mm) | Stud Spacing Near Supports (mm) | Recommended Stud Type |
|---|---|---|---|---|
| Up to 600 | 1.5 | 200 | 300 | M5 CD Weld / PEM |
| 600 – 900 | 1.5 | 150 | 250 | M6 Mechanical / CD Weld |
| 900 – 1200 | 2.0 | 120 | 200 | M6 Mechanical + Adhesive |
| 1200 – 1500 | 2.0 | 100 | 180 | M6 Mechanical + Adhesive |
| 1500 – 1800 | 2.5 | 80 | 150 | M8 Mechanical + Adhesive |
These values assume 5052-H32 aluminium alloy and a maximum allowable deflection of L/175. Projects in hurricane-prone zones or with special architectural requirements should use project-specific engineering calculations. The table is a starting point for feasibility assessment, not a substitute for structural analysis.
Adhesive-Assisted Stud Fixation: When Mechanical Alone Is Not Enough
Structural adhesive is increasingly used alongside mechanical fasteners for Aluminum Stud Fixation in demanding applications. The adhesive serves two functions: it increases the overall joint strength, and it provides vibration damping that prevents stud loosening over time.
The adhesive system must be compatible with aluminium and capable of withstanding the full temperature range the façade will experience. Two-part epoxy and modified acrylic structural adhesives are the most common choices. The adhesive should be applied in a controlled bead along the stiffener flange before the studs are tightened. The studs provide clamping pressure while the adhesive cures, and the adhesive provides long-term load distribution.
Testing data from façade engineering firms shows that an adhesive-assisted M6 stud connection in 3.0mm 5052 aluminium can achieve 40-60% higher pull-out strength than the same stud without adhesive. More importantly, the failure mode changes from sudden pull-out to gradual yielding, which is preferable from a safety perspective.
One caution: adhesive should never be relied upon as the sole means of stud fixation for exterior cladding. UV exposure, moisture, and thermal cycling will degrade even the best structural adhesives over a 30-year building lifespan. The mechanical fastener must be capable of carrying the full design load independently. The adhesive is a performance enhancer, not a primary structural element.
Corrosion Considerations at the Stud-Panel Interface
Galvanic corrosion is an ever-present threat when dissimilar metals contact each other in the presence of moisture. Aluminium is anodic to most common fastener materials, including steel and stainless steel. If the stud is more noble than the aluminium panel, the panel will sacrifice itself to protect the stud.
The standard solution is to use aluminium studs for aluminium panels. However, aluminium studs have lower tensile strength than steel alternatives. For applications requiring higher strength, stainless steel studs (A2 or A4 grade) are acceptable provided an isolating barrier is used. This can be a nylon washer, a coating on the stud, or a structural adhesive layer that electrically isolates the two metals.
The environment matters enormously. A building in coastal Dubai or Singapore faces a far more aggressive corrosion environment than one in inland Germany. The following table summarizes the galvanic corrosion risk for different stud materials against 5052 aluminium panels in various environments:
| Stud Material | Rural/Inland | Urban | Coastal (500m+) | Coastal (0-500m) | Isolation Required? |
|---|---|---|---|---|---|
| Aluminium 5052 | Negligible | Negligible | Low | Low | No |
| Aluminium 6061 | Negligible | Low | Low | Moderate | Recommended |
| Stainless Steel A2 | Low | Moderate | High | Severe | Mandatory |
| Stainless Steel A4 | Low | Moderate | Moderate | High | Mandatory |
| Zinc-Plated Steel | Moderate | High | Severe | Severe | Not Recommended |
For projects within 500 meters of saltwater, the only truly safe combination is aluminium studs on aluminium panels, with PVDF coating extending to cover the stud area where possible. Any stainless steel fastener in this zone must be fully isolated and inspected at regular intervals during the building's service life.
Fabrication Quality Control for Stud Fixation
The difference between a 30-year façade and a 5-year warranty claim often comes down to fabrication quality control. Stud fixation is a process that looks simple but harbors many opportunities for error.
Key inspection points during fabrication include: verifying stud torque immediately after installation, checking for panel distortion around the stud location, confirming that adhesive (if used) has squeezed out evenly around the stiffener flange, and performing pull-out testing on a statistical sample of studs from each production batch.
A practical quality control protocol used by reputable fabricators involves destructive testing of one stud per 100 installed, selected randomly. The stud must achieve at least 90% of the calculated pull-out strength. If it fails, the batch is quarantined and a root cause investigation is launched. This protocol adds minimal cost but catches problems before panels leave the factory.
For projects specifying Aluminum Stud Fixation with adhesive assistance, the quality control protocol should also include cure monitoring. Adhesive that has not fully cured before the panel is moved will produce a bond that is permanently compromised. Temperature and humidity logs from the fabrication area should be maintained and correlated with adhesive batch numbers.
Site Handling and the Risk of Pre-Installation Damage
Even perfectly fabricated stud connections can be damaged before the panel reaches the building. Panels stacked flat during transport can transmit impact loads through stiffeners directly into stud connections. A panel dropped on its edge can shear studs that were designed only for tension loads.
Site storage practices should include: storing panels vertically on A-frames with padded supports, never stacking panels flat, inspecting stud connections on a random sample of panels upon delivery, and documenting any damage with photographs before installation begins. The cost of replacing a damaged panel is small compared to the cost of replacing a panel that fails in service because of undetected stud damage.
Installation crews should be trained to recognize the signs of compromised stud fixation: visible gaps between stiffener and panel, studs that can be rotated by hand, adhesive beads that are cracked or missing, and panels that sound different when tapped. A panel that rattles during lifting is a panel that should not be installed.
Thermal Movement and Long-Term Durability
The thermal expansion mismatch between aluminium stiffeners and aluminium panels is minimal because both are the same material. However, the stud connection itself experiences thermal stress because the panel and stiffener may not heat and cool at the same rate. The panel face exposed to sun heats faster than the stiffener hidden behind it. This differential creates shear stress at the stud connection.
Over thousands of thermal cycles, this stress can cause stud loosening if the connection was not designed to accommodate it. Mechanical studs with thread-locking compound, welded studs with adequate ductility, and adhesive-assisted connections all address this issue in different ways. The common requirement is that the connection must maintain clamping force through the full thermal cycle range.
For projects in climates with extreme temperature swings, such as the Middle East or Northern China, the stud fixation specification should include thermal cycling test requirements. A typical test protocol exposes the panel assembly to 200 cycles between -20°C and +80°C, followed by pull-out testing. Studs that lose more than 15% of their original pull-out strength after cycling should trigger a design review.
Specifying Aluminum Stud Fixation in Project Documentation
Ambiguous specifications produce ambiguous results. A specification that says "stiffeners to be fixed to panel back with appropriate fasteners" is an invitation for the lowest-cost interpretation. The specification should state the stud type, material, diameter, minimum pull-out strength, spacing requirements, and quality control testing protocol.
A well-written specification for Aluminum Stud Fixation references relevant standards: AAMA 508 for voluntary test methods, ASTM B209 for aluminium sheet specifications, and ISO 16276 for assessment of adhesion by pull-off testing. These references give the specification teeth and provide a basis for rejecting non-compliant work.
For international projects, the specification should also address the qualifications of the fabricator. A fabricator who has never performed CD stud welding on aluminium should not be learning on a 50-story tower. The specification should require evidence of previous projects using the specified stud fixation method, along with test certificates for the specific panel alloy and stud combination being proposed.
Fabricators such as Futeng® who specialize in solid aluminium cladding systems can provide technical documentation and test data that supports specification compliance. The key is to engage the fabricator early in the design process, not after the specification has been written in a way that is impossible to meet.
Cost Implications of Stud Fixation Choices
Stud fixation method affects fabrication cost more than most contractors realize. Mechanical screw fixation is the lowest material cost but the highest labor cost, especially for large panels with many studs. CD stud welding has higher equipment cost but lower per-stud labor cost, making it economical for high-volume production. PEM studs fall in the middle, with moderate equipment cost and moderate labor cost.
The cost difference between methods is typically $0.30 to $1.20 per stud when amortized over a project of 5,000 square meters or more. This seems small until you multiply by 20,000 studs. At that scale, the choice between mechanical and welded studs can be a $24,000 decision. The decision should be driven by performance requirements first, but cost is a legitimate factor when multiple methods meet the performance criteria.
What should never be cost-cut is the quality control. The cost of pull-out testing 100 studs is perhaps $500. The cost of replacing panels that failed because studs were not tested can exceed $50,000 when access equipment, labor, and schedule delays are accounted for. This is the kind of arithmetic that separates experienced contractors from those who learn the hard way.
The engineering reality of Aluminum Stud Fixation is that it rewards attention to detail and punishes complacency. Every stud connection is a structural joint that must survive decades of wind, rain, sun, and thermal cycling. The methods are well understood. The materials are well characterized. The failure modes are predictable. What remains is the discipline to specify correctly, fabricate carefully, and inspect thoroughly. Projects that treat stud fixation as a critical-path engineering activity get façades that stay flat, quiet, and watertight. Projects that treat it as an afterthought get phone calls from building owners.